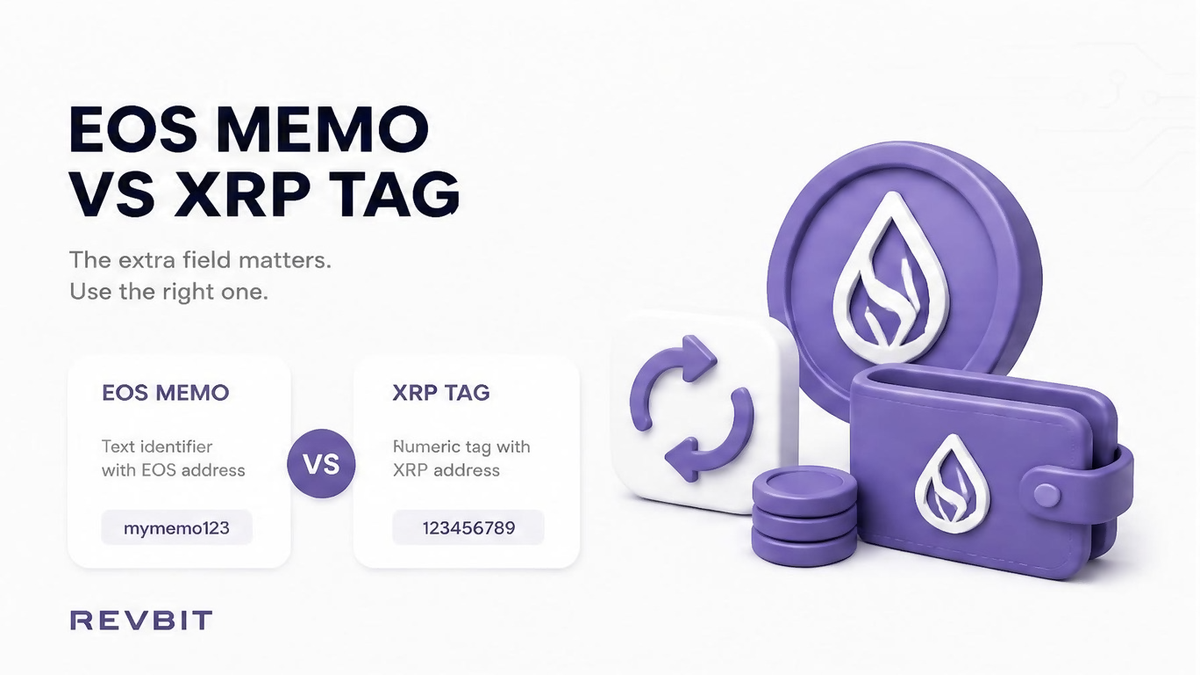

When an instant swap asks for an extra identifier, the label matters. EOS normally uses a Memo, while XRP normally uses a numeric Destination Tag.
Summary: An EOS memo and an XRP destination tag serve a similar routing purpose, but they are different asset-specific fields. Check the active swap order, copy the identifier shown for that deposit, and paste it only into the matching wallet field. A careful pre-send check helps the exchange credit the payment to the correct order.
Shared exchange deposits often use one wallet address for many customers. The extra identifier tells the service which customer or order should receive the funds.
This is why a correct wallet address alone may not be enough for an EOS or XRP deposit. The receiving instructions decide whether the extra field is required, and the asset decides which label and format you should use.
Compare the extra field on the order
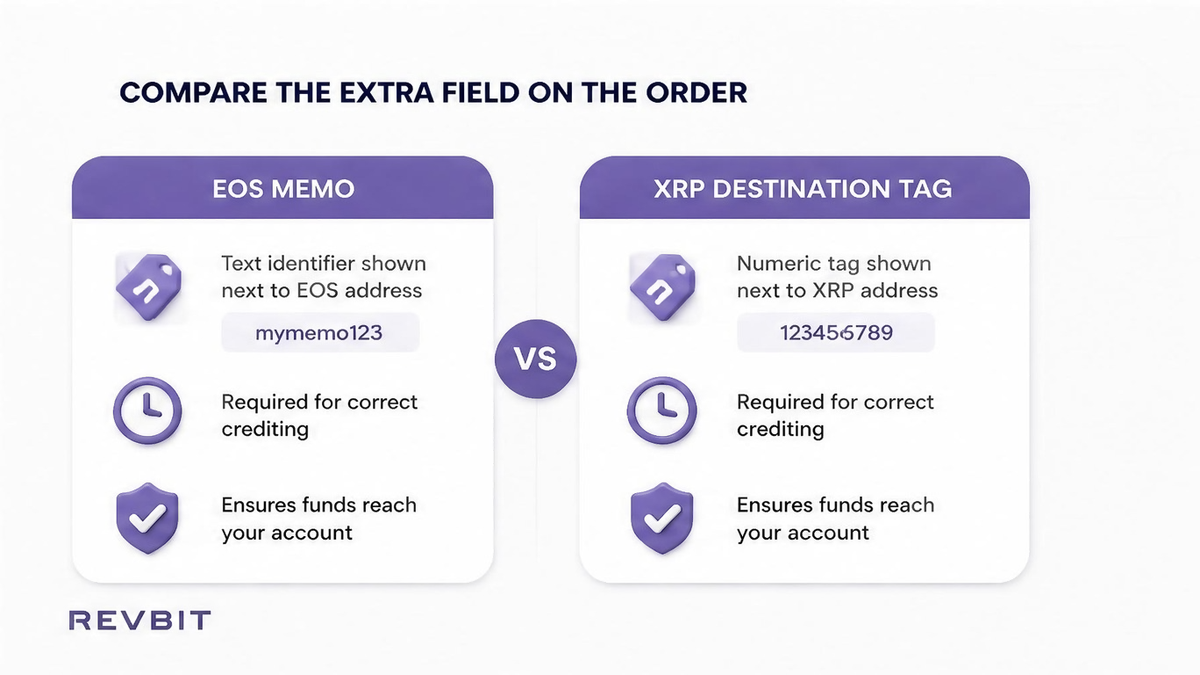
Do open the active instant-swap order and confirm both the asset and network before copying any deposit details.
Don’t choose a field because it looks familiar from an earlier XLM, TON, ATOM, or other crypto transaction.
| Asset | Field to look for |
|---|---|
| EOS | Memo, shown with the EOS deposit address when the order requires it. |
| XRP | Destination Tag, shown separately from the XRP deposit address. |
In practical terms, the question is not whether an EOS memo and an XRP destination tag are generally useful. The question is which exact instruction appears beside the address for your current order.
Read the asset name, network name, deposit address, and extra field as one set of instructions. A correct identifier copied from another order is still the wrong identifier for this payment.
Copy the correct value
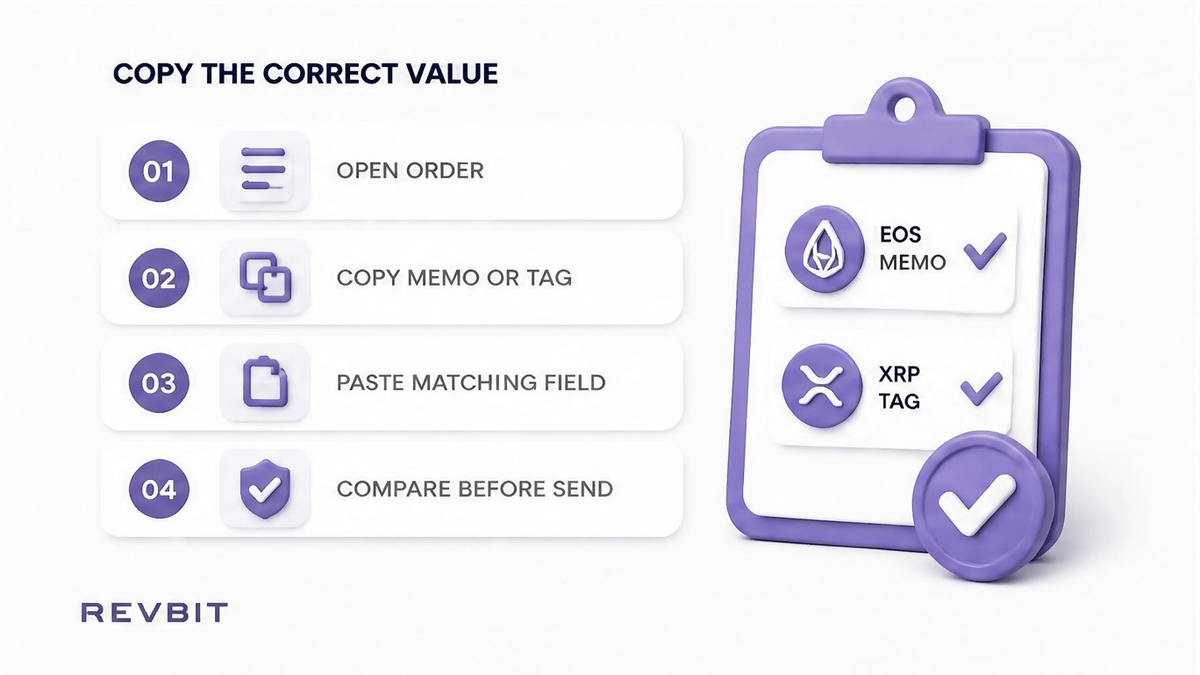
Do copy the complete EOS memo or the complete numeric XRP destination tag directly from the current deposit screen.
Don’t type the value from memory, remove digits, add spaces, or assume that the address already contains the extra identifier.
- Open the swap order and confirm that the deposit asset is EOS or XRP.
- For EOS, locate the EOS address and the separately displayed Memo.
- For XRP, locate the XRP address and the separately displayed numeric Destination Tag.
- Copy the address into the wallet address field and copy the extra value into its own field.
- Compare the pasted value with the order screen before approving the transaction.
- Keep the order open until you have checked the amount, asset, network, address, and identifier.
The EOS memo is not a replacement for the EOS address. The XRP destination tag is not a replacement for the XRP address either, and the two pieces of information should be handled separately.
Some wallets call an extra field a message, payment ID, memo, or tag. These labels are not automatically interchangeable, so follow the receiving service’s exact instructions rather than matching names across coins.
Check when the field is required
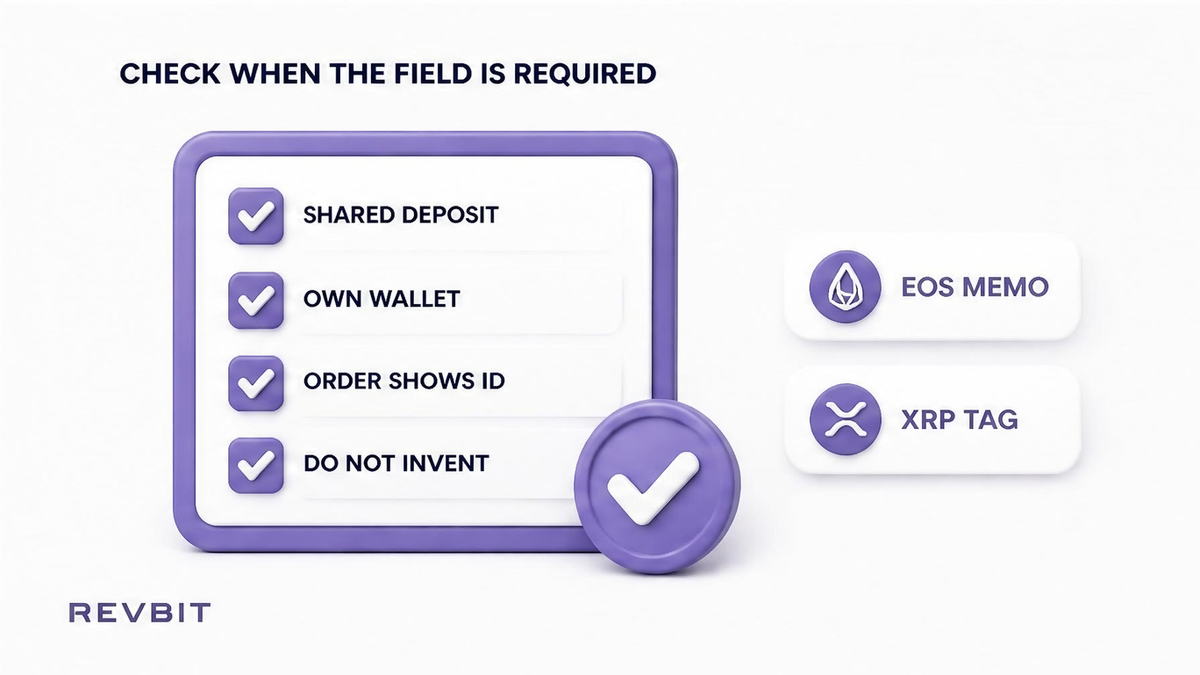
Do follow the receiving wallet or swap order instructions because shared exchange deposits are the common situation in which an extra identifier is required.
Don’t assume that every EOS or XRP transfer always needs a memo or destination tag.
| Receiving destination | What to verify |
|---|---|
| Shared instant-swap or exchange deposit | Use the memo or tag displayed by the active order if the instructions provide one. |
| Your own wallet | Check that wallet’s instructions; it may not ask for an extra identifier. |
A personal wallet and a shared service address can look similar on screen, but they can have different deposit requirements. The receiving service controls how it identifies and credits incoming funds.
For XRP, a shared exchange address commonly comes with a destination tag. For EOS, the order may provide a memo for the same broad routing purpose, but that does not make the labels or fields identical.
Paste only into the matching field
Do treat the EOS Memo and XRP Destination Tag as separate fields with separate values.
Don’t paste an EOS memo into an XRP destination-tag box or paste an XRP tag into an EOS memo box.
- EOS address goes in the EOS wallet address field.
- EOS memo goes in the EOS wallet Memo field.
- XRP address goes in the XRP wallet address field.
- XRP destination tag goes in the XRP wallet Destination Tag field.
- A previous coin’s message or memo should be removed before a new transfer.
- If the field is unclear, stop and check the active order before sending.
A field mismatch is not fixed by using the right number of characters or by putting the value somewhere else in the transaction. The receiving system looks for the identifier in the field and format it expects.
Before you confirm, compare the first and last visible characters of the address where the wallet allows it, then compare every digit of the tag or every character of the memo with the order.
Clear old details before sending
Do remove leftover values from a previous XLM, TON, ATOM, or other memo-based transfer before entering EOS or XRP instructions.
Don’t reuse a saved destination, copied clipboard value, or autofilled memo without checking the new order.
| Before sending | Required check |
|---|---|
| New EOS order | Replace any old value with the current EOS Memo, then verify the EOS network and address. |
| New XRP order | Replace any old value with the current numeric Destination Tag, then verify the XRP network and address. |
Clipboard history and wallet forms can preserve details from an earlier payment. This creates a simple but avoidable risk: the address may be current while the extra identifier is stale.
Do not let a blank-looking field decide the process for you. If the order displays an identifier, use it as instructed; if it says no identifier is needed, follow that instruction and do not invent one.
Test and record a large transfer
Do send a small test first when the amount is significant, then save the order ID, exact memo or tag, and transaction ID.
Don’t send the full amount until the test and the final pre-send comparison give you confidence that the receiving details match.
- Review the swap order ID and confirm the asset and network.
- Copy the current deposit address and matching EOS memo or XRP destination tag.
- Send a small test amount using the same wallet fields planned for the main transfer.
- Save the order ID, address, amount, exact identifier, and transaction ID.
- Check the test status before sending the remaining amount.
- Keep the transaction record until the swap has completed and the destination funds are visible.
Network selection remains a separate check from the memo or tag. A correct identifier cannot correct a transfer sent on the wrong network, so review the network before you approve the transaction.
For a broader pre-send routine, use the destination tag and memo checklist and the network selection checklist. You can also read the small-test transfer guide before moving a large amount.
If you are ready to create an order, use the RevBit swap widget and keep the deposit instructions visible while preparing the wallet transaction.
If a field was omitted or the wrong value was sent, keep the order details and transaction record. Contact RevBit support with the order ID and TxID as soon as possible.
RevBit Terms state that memo or destination-tag recovery may cost 5% of the amount, with a minimum of USD 20, only when the amount exceeds USD 30; review may take up to 14 days and recovery can be refused. Claims are stated to be submitted within 7 business days through support, so prevention is preferable to recovery.
Resolve an uncredited deposit
Do stop sending additional funds and gather the exact transaction information if the deposit does not appear as expected.
Don’t guess a replacement tag, send another transaction to compensate, or delete the original order and wallet records.
Keep the order ID, asset, network, deposit address, amount, exact memo or destination tag, and TxID together. These details allow support to identify what was sent and which order was intended.
Check the blockchain transaction details before contacting support, but do not assume that a visible transaction automatically means the swap can be credited. An omitted or incorrect identifier may leave the deposit delayed or uncredited.
Describe the issue plainly: state whether the field was missing, wrong, or copied from another order. Include screenshots only when they show the relevant order or wallet details without exposing unrelated private information.
Frequently asked questions
Is an EOS memo the same as an XRP destination tag?
No, they have a similar routing purpose but belong to different asset-specific fields and formats.
Can I send XRP with a memo and no destination tag?
Only when the receiving instructions explicitly say the tag is not required, because shared exchange deposits commonly provide one.
What if I paste the EOS memo into the XRP destination-tag field?
Stop before sending and obtain the correct XRP destination tag from the active order.
Do I need a memo or tag for my own wallet?
Follow the receiving wallet’s instructions because a personal wallet may not require an extra identifier.
What should I keep if a deposit is not credited?
Keep the order ID, exact memo or tag, wallet address, amount, network, and TxID.
Can a correct tag fix a wrong network?
No, the network and asset must match separately from the memo or destination-tag check.
Disclaimer: The material in this article is not financial or investment advice. Everything stated here reflects the author's personal view and should not be treated as a recommendation to trade or invest. We make no warranties regarding the accuracy, reliability or completeness of the information presented. Cryptocurrency markets are highly volatile and can move unpredictably. Before committing any funds, every investor, trader or crypto user should study several independent sources and check the regulations that apply in their own jurisdiction.