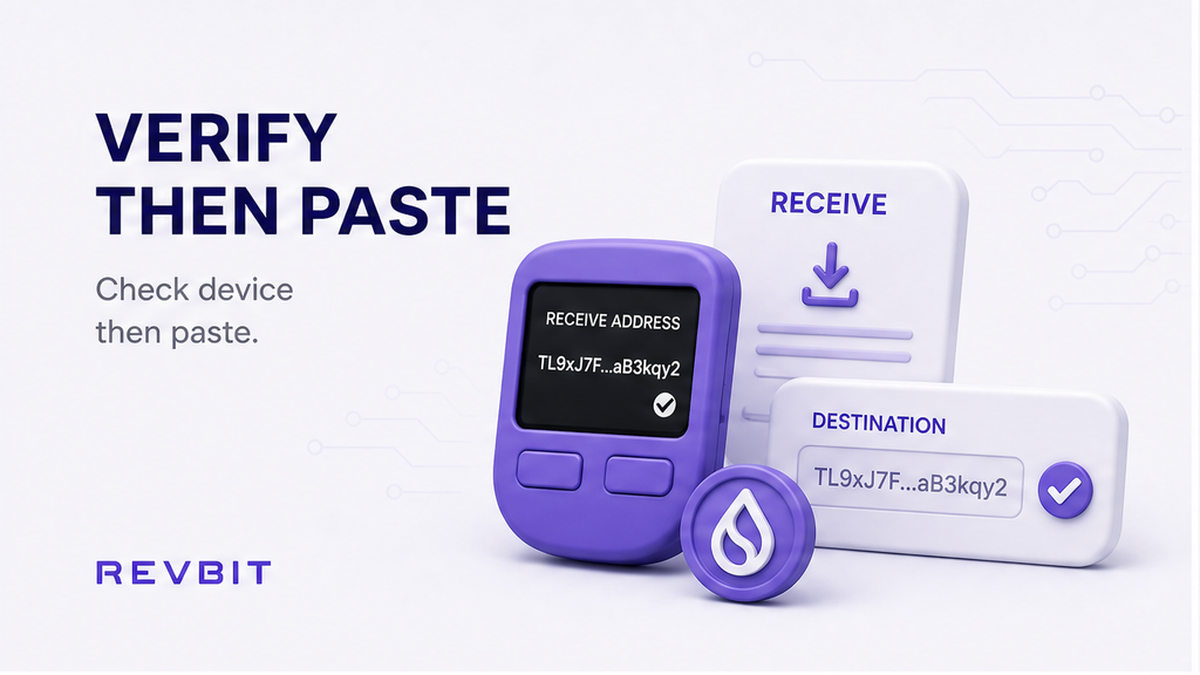

Before an instant crypto swap can pay out to your Trezor, you need a destination that is correct for both the asset and its network. The safest workflow is to create the receive address in Trezor Suite, verify the complete address on the physical Trezor device, and only then paste it into the exchange payout field.
Summary: Open the Trezor Suite account for the asset you expect to receive, display its receive address, and compare it character by character with the address shown on your Trezor device. Check the ticker and network separately before using the verified address as the swap payout destination. A small test receive can reduce the risk before you send a larger amount.
A Trezor receive address is the destination for the asset coming out of the swap. It is not the address you use to send the coins that fund the order. The steps below apply when you use an external instant exchange and want its payout sent to Trezor. Trezor Suite also has its own swap feature, but that is a separate flow and does not mean every third-party exchanger is integrated with Suite.
How to open the matching Trezor Suite account
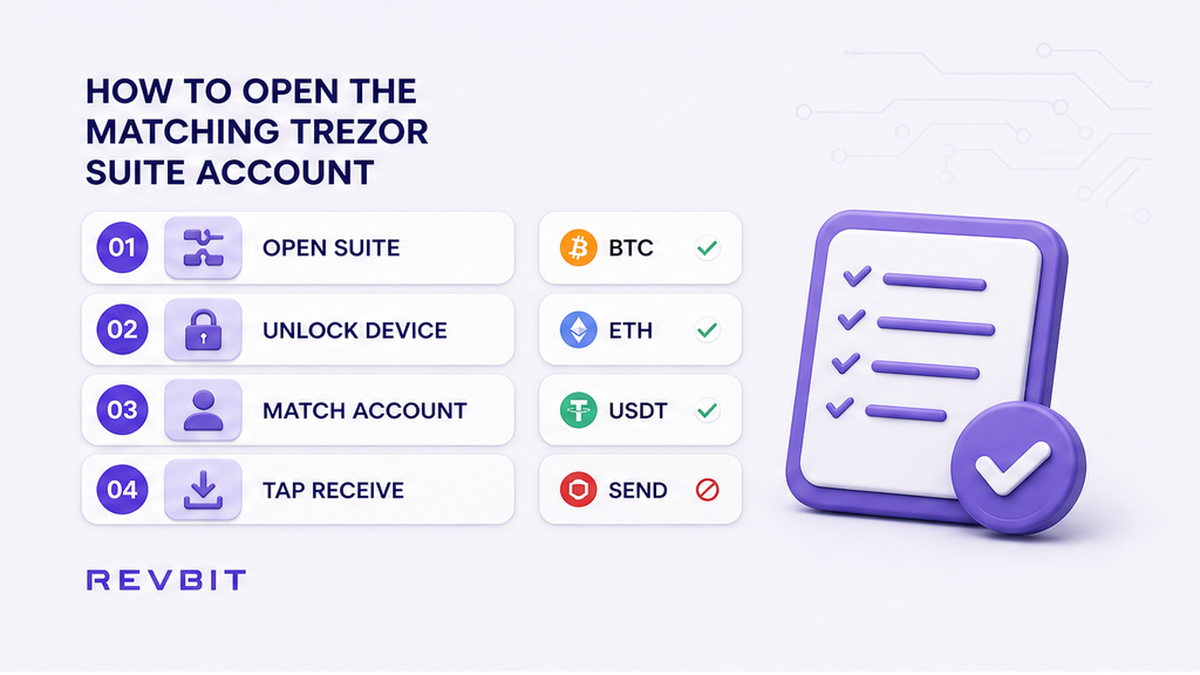
Start with the asset you want to receive, not the asset you will send to the exchange. Open Trezor Suite, connect and unlock the correct device, then choose the matching account in the portfolio. For example, select a Bitcoin account when the swap payout is BTC, an Ethereum account for ETH, or the account that matches the supported token and chain for a stablecoin.
Choose Receive inside that account. Do not begin from the send screen, an old exchange withdrawal page, a browser bookmark, or a message containing an address. The account determines the address format, while the payout form determines which asset and network the exchange will use. Both sides must agree before you create or fund the order.
Do: Prepare the destination before sending any coins to the instant exchange.
Don’t: Assume that an address for one ticker or chain is suitable for another ticker or chain.
How to verify the receive address on the Trezor device
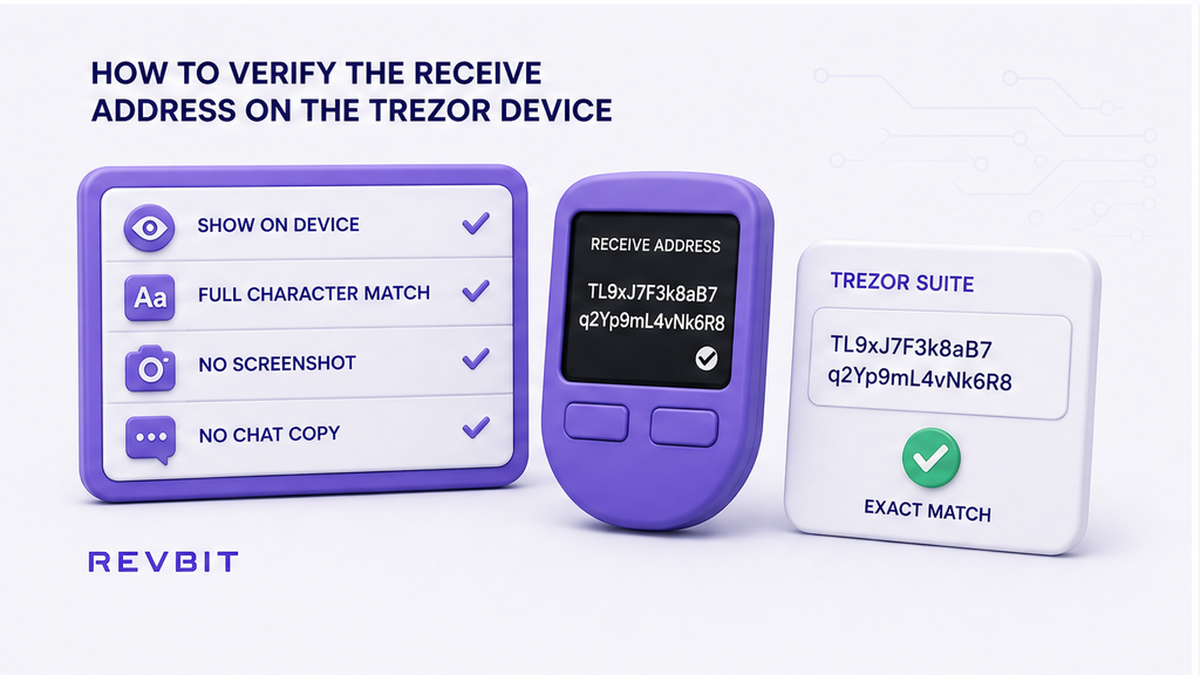
After you select Receive, Trezor Suite displays an address. Follow the prompt to show it on the connected Trezor device. Read the address on the hardware wallet screen, not only in the desktop or browser application. The physical screen is the trusted checkpoint because malware or a compromised computer can replace an address displayed on the computer.
Compare the address character by character from the beginning to the end. Do not check only the first and last few characters. If the device and Suite show different addresses, stop and do not paste either address into the swap. Reconnect the device, confirm the selected account, update or restart the relevant software if appropriate, and investigate the mismatch before continuing.
Do: Approve the address only when the full computer address matches the full address on the Trezor screen.
Don’t: Trust an address copied from chat, a screenshot, an old CEX whitelist, or unverified browser history.
How to match ticker/network and paste the payout address
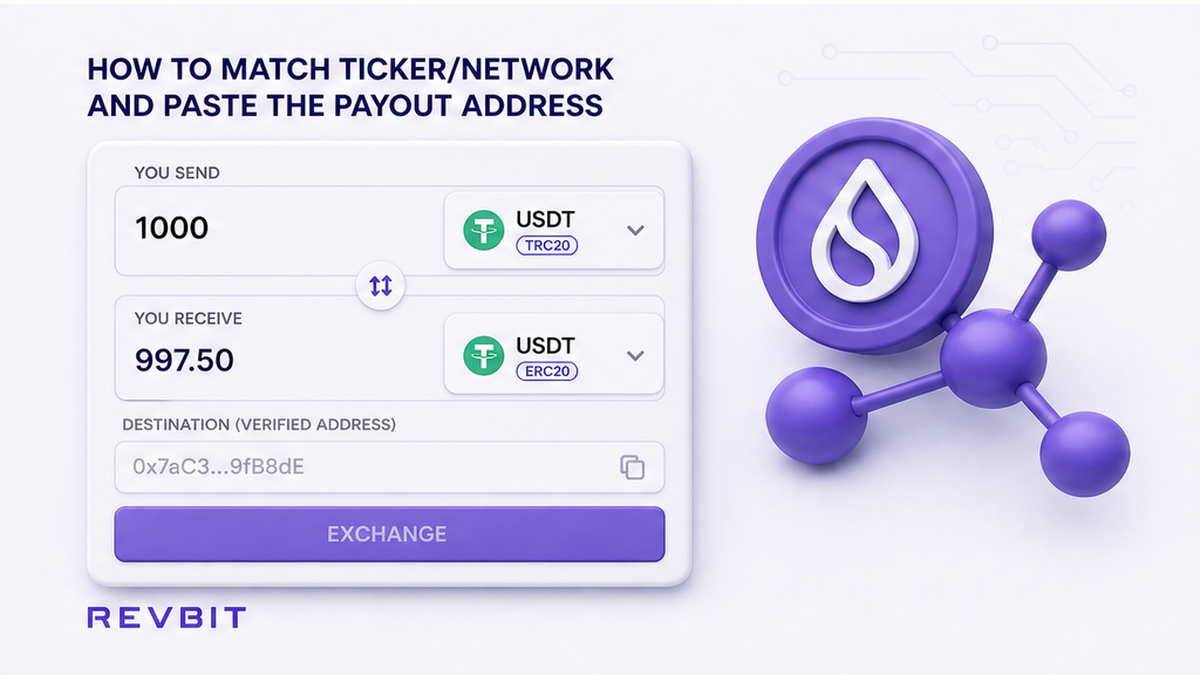
An address can look plausible and still be wrong for the payout. Check the ticker and network as separate items: BTC must be sent as Bitcoin, ETH as Ethereum, and USDT must be paired with the chain you selected. USDT-TRC20 and USDT-ERC20 are not interchangeable choices just because both display the USDT ticker. A wrong-chain transfer may not be recoverable.
In the instant-swap form, select the asset and network that match the Trezor destination, then paste the verified receive address into the payout or destination field. RevBit’s network-selection guide states that the default USDT receive network is TRC20, while an ERC-20 wallet requires explicitly selecting ERC20. Use the exchange’s displayed network label rather than relying on a familiar ticker alone. For a broader checklist, see how to choose the correct crypto swap network.
Review whether the receiving asset requires a memo or destination tag. Some exchanges use these extra values to identify an account, although a personal hardware-wallet address may not require one. Never invent a memo, and do not omit one when the receiving service explicitly requires it. RevBit’s terms state that recovery for a missing or incorrect memo or destination tag may involve a 5% fee, with a minimum of USD 20 when the amount is above USD 30; review may take up to 14 days and recovery can be refused.
Use the verified address as the payout destination only after these checks. An instant exchange sends the exchanged asset to the destination you provide. It does not automatically know which Trezor account you intended, and a completed wrong-chain transfer cannot be treated as reversible.
Do: Confirm asset, chain, address, and any required memo immediately before creating the order.
Don’t: Paste a destination copied from a support chat or reuse a saved address without comparing it with the device.
How to re-check the order and send a small test
Before you confirm the swap, compare the payout field with the address on the Trezor screen again. This second comparison protects against clipboard replacement, a changed browser field, or accidentally selecting a different network after the first review. If you use a fixed-rate order, check the quote conditions and complete the steps within the stated quote window. RevBit’s fixed-rate guide states a 1% platform fee plus network fee and a 12-minute quote lock. Its floating-rate guide states a 0.5% platform fee plus network fee, with the rate not fixed until the funds arrive and the exchange completes.
For a large payout, first use a small test amount when the asset and fee structure make that practical. Wait for the test to reach the correct Trezor account and confirm the amount, ticker, and network before proceeding. A test does not guarantee recovery from a wrong address, but it can expose a wrong account, wrong chain, or unexpected payout setup while the amount at risk is limited. The same principle is covered in this test swap guide.
- Open the matching Trezor Suite account for the asset you will receive.
- Select Receive and display the address in Suite.
- Show the address on the physical Trezor device and compare it character by character.
- Choose the matching ticker and network in the instant-swap form, then paste the verified address.
- Compare the payout field with the device screen again and check any memo or destination tag.
- Send a small test payout first, confirm it arrives correctly, and then continue with the larger amount.
An unused Trezor receive address normally remains valid; it does not automatically expire because you used it once or displayed it in Suite. Generate a fresh address when you want better privacy, when your asset-specific workflow calls for it, or when you prefer to separate transactions. A website demanding a “new” address is not by itself proof that the old unused address is invalid. Ask why a new address is needed and verify the request through the service’s official channel.
Keep the swap type clear in your records. Swapping inside Trezor Suite uses Suite’s own available trading flow. Sending the payout from an external instant exchange to a Trezor address is a different process, even though the final destination is the same hardware wallet. RevBit describes itself as a non-custodial instant crypto exchange, but do not infer that every exchanger is integrated with Trezor Suite.
Do: Test the payout and retain the order details until the funds are confirmed in the correct Trezor account.
Don’t: Increase the amount merely because an exchanger asks for a fresh address or because the first address is unused.
Frequently asked questions
Do I need a new Trezor address for every swap?
No. An unused Trezor receive address generally remains valid, so a new address is not automatically required for each swap. Generate a fresh one mainly for privacy, transaction separation, or an asset-specific requirement that you have verified.
How do I verify a Trezor receive address on the device?
Open the matching account in Trezor Suite, select Receive, and choose the option to display the address on the connected Trezor. Compare the complete address on the physical screen with the address shown in Suite before approving or copying it.
Can I reuse a Trezor address on an instant exchange?
You can generally reuse an unused or previously used receive address when the asset and network are correct. A fresh address may improve privacy, but reusing an address does not make it invalid and a wrong network can still cause loss.
What if Suite and the device show different addresses?
Stop the swap and do not use either address until the mismatch is understood. Confirm the account and asset, reconnect the device, and check the software or computer for interference rather than accepting the address displayed only on the computer.
Should I swap inside Trezor Suite or send the payout to Trezor from RevBit?
These are separate workflows: Suite’s swap feature is different from creating an order with an external instant exchange and entering a Trezor payout address. If you use RevBit or another external service, verify the destination on the device and match the selected ticker and network before funding the order; for the general process, see how an instant crypto exchange works.
Disclaimer: The material in this article is not financial or investment advice. Everything stated here reflects the author's personal view and should not be treated as a recommendation to trade or invest. We make no warranties regarding the accuracy, reliability or completeness of the information presented. Cryptocurrency markets are highly volatile and can move unpredictably. Before committing any funds, every investor, trader or crypto user should study several independent sources and check the regulations that apply in their own jurisdiction.