
You’re about to move a large USDT or BTC amount through an instant swap. One wrong network or a lookalike address and the coins can be gone for good. Run a small same-route test swap first – same pair, same networks, same destination – wait until it fully credits, then scale. Follow this first swap checklist so the large transfer is boring, verified, and safe.
Summary: Before a large crypto transfer on an instant exchanger, create a small test order on the exact same route (pair, networks, address, memo). Send only the exact test amount, wait for full credit in the destination wallet, then open a fresh large order. Re-copy the receive address from your wallet receive screen – not from transaction history – so address poisoning cannot hijack the big send.
A “test swap” is not a different product. It is a tiny dress rehearsal of the large route: you prove ticker, network, deposit address, memo/tag, and rate mode before you risk the full pile. Instant non-custodial swaps (like RevBit) work as send-from-your-wallet → deposit address for that order → receive to an address you control. The test must walk that whole path.
Industry guides often cite about $20–$50 for a first-corridor test, or $1–$10 for ordinary transfers. Those are third-party rules of thumb, not a RevBit minimum. Size the test above the live order minimum and at an amount you can afford to lose if something is still wrong.
Treat a $20–50 test as cheaper than a wrong-network loss
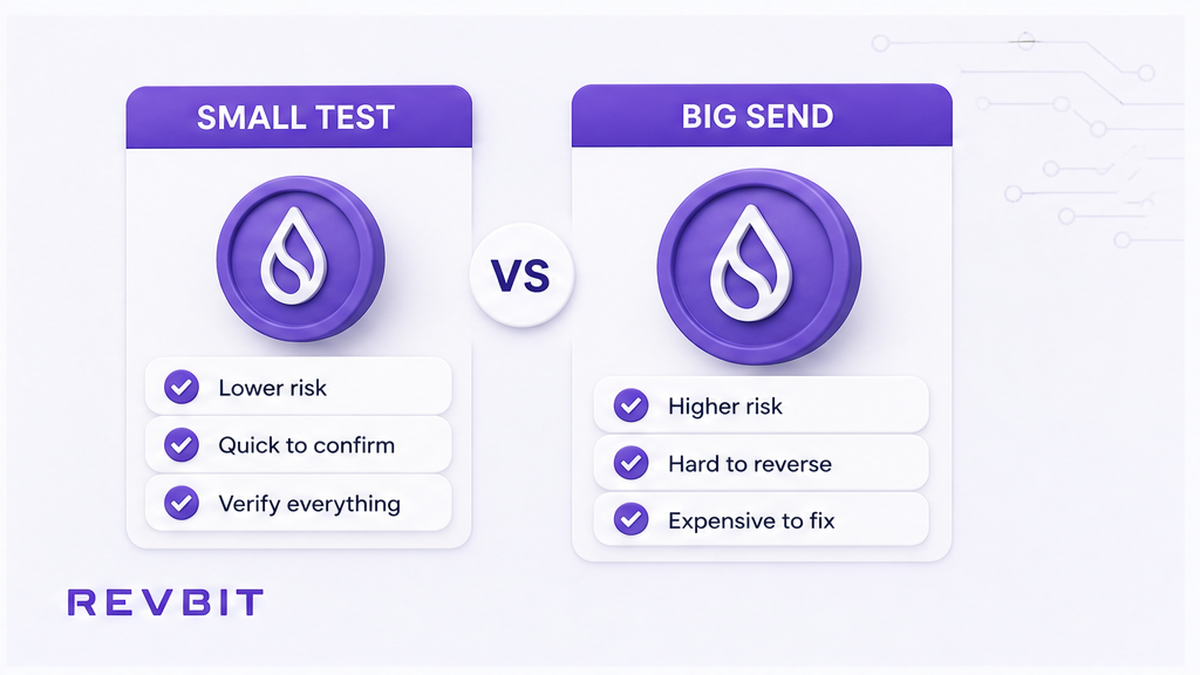
Wrong network means you sent the right ticker on the wrong chain. USDT on TRC-20 (Tron, addresses often start with T…) is not the same as USDT on ERC-20 (Ethereum, addresses often start with 0x…). Same label on the screen, different pipes. A mismatch can mean permanent loss – do not count on a refund.
Paying network fees twice (test + large) costs less than guessing. Do: budget a small same-route pilot before any new destination, new network, or first use of an exchanger. Don’t: skip the test because “I already know USDT” – ticker is not network.
Workflow: Lock large route (asset + network both sides) → Create tiny same-route order → Send exact deposit → Wait for full credit → Re-verify address out-of-band → Open fresh large order → Send exact large amount
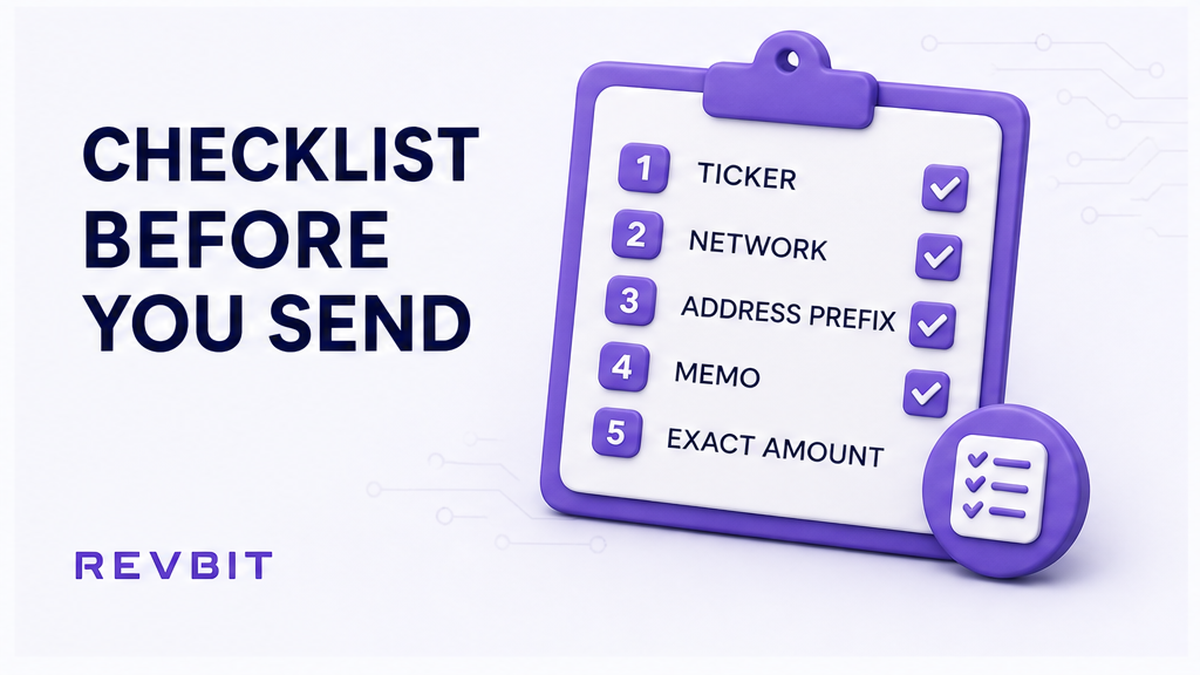
Match ticker, network, address prefix, and memo on the test order
Write the planned large route as plain text first, for example: “send BTC → receive USDT TRC20 to wallet X.” On RevBit, the flagship USDT receive default is TRC20; pick ERC20 in the widget explicitly if your wallet is ERC-20. EU/EEA residents and other restricted regions cannot use the service – check eligibility before you start.
| Check | What to verify | Fail signal |
|---|---|---|
| Ticker | Same coin label on send and receive as planned | You “test” USDT then send BTC on the large order |
| Network | TRC20 vs ERC20 (or BTC/Lightning, etc.) matches both sides | Test on TRC20, large order on ERC20 |
| Address prefix | Receive address shape matches network (T… vs 0x…) | Prefix does not match the network you selected |
| Memo / tag | If the order UI shows destination tag, memo, or comment – copy it exactly | Blank field on a shared deposit coin (XRP, XLM, TON…) |
| Exact amount | Send only the deposit amount printed for that order | Rounded “about the same” send |
Paste the receive address from your wallet’s receive screen, not from recent transaction history. Check first characters, last characters, and a chunk in the middle. Address poisoning plants lookalike addresses in history after a successful small send so you copy the wrong one next time.
For deeper network rules, use the crypto swap network selection checklist. Do: treat the test order as a clone of the large route. Don’t: “test on cheap ERC20 gas” then flip to TRC20 for the big send – that tests the wrong pipe.
- Decide send asset, receive asset, and both networks; write “asset + network” for each side.
- Confirm the destination wallet supports that receive network (prefix match).
- Open the RevBit homepage swap widget and create a small order on that exact route.
- Choose Floating or Fixed on purpose (see next section); note the printed deposit amount.
- Paste the receive address from the wallet receive screen; fill memo/tag from the order UI if shown.
- Send only the exact small deposit; leave gas (TRX, ETH, etc.) for network fees.
- Save the order ID and TxID before you close the wallet.
Wait for full credit before you scale the amount
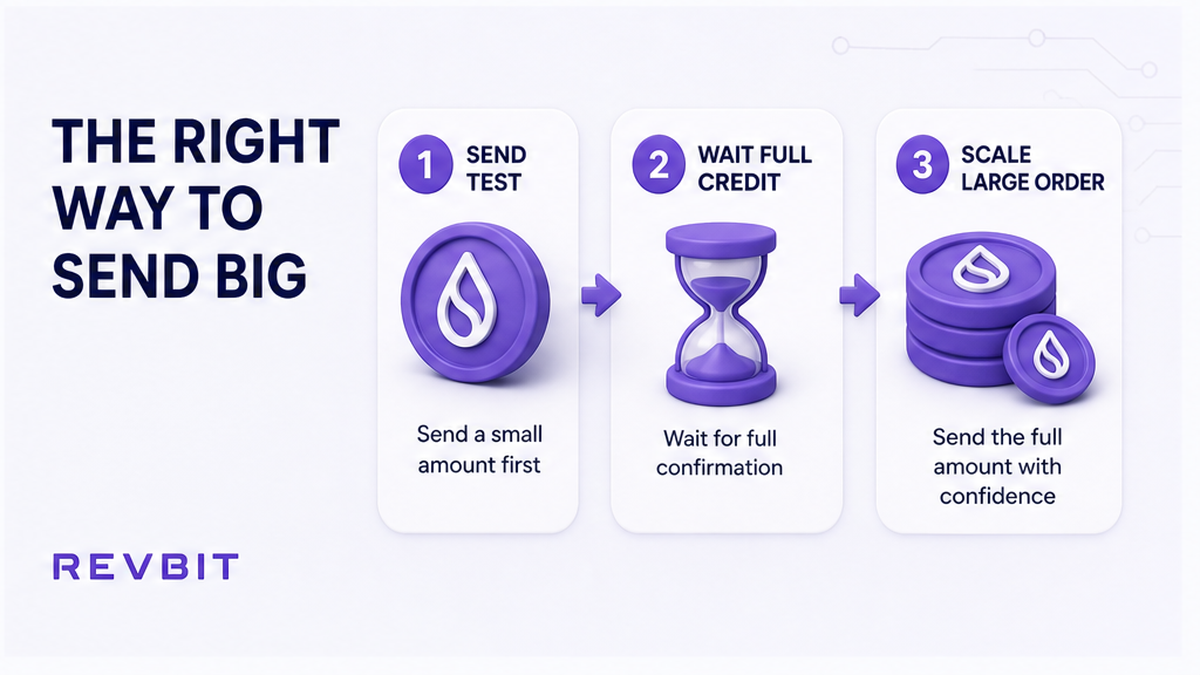
On-chain “success” is not the same as “credited in my wallet.” Wait until the test amount appears as a completed receive you can spend or see clearly in the destination app. Use a block explorer when useful (Tronscan for TRON, Etherscan for ETH, Blockstream for BTC) to confirm the TxID, then still wait for wallet credit.
Guides such as CryptoAdventure stress the same pause: arrive and credit first, then re-check address, network, and memo before the larger send. A December 2025 industry case (cited in address-poisoning writeups) showed a successful 50 USDT test followed by a large loss after a lookalike address appeared roughly 26 minutes later – the test itself was fine; the next paste was not.
Do: treat “pending” or “confirming” as a hard stop on the large send. Don’t: start the large deposit because the explorer already shows one confirmation.
If the test never credits, stop. Do not invent a second “fix” send. Contact official channels via RevBit support with order ID and TxID (claims on exchange applications: within 7 business days to support@revbit.net). Terms 2.12 cover memo/tag recovery limits (5% fee, minimum USD 20, only if amount > USD 30, review up to 14 days, refusal possible) – wrong network or wrong address is still often irretrievable. Read RevBit Terms of Use before you assume a fix exists.
Choose Fixed vs Floating separately for test and large send
Fixed rate locks a quote for a window so you know what you should receive if you send on time. On RevBit, Fixed is 1% + network fee with a 12-minute quote lock. Floating is 0.5% + network fee and is not fixed until funds arrive and the exchange completes.
You may use Floating on the test and Fixed on the large send (or the reverse). Keep the route identical. Critical timing rule: do not create a Fixed large order and then sit idle waiting for the test to credit – that burns the 12-minute lock. Finish the test first, then open the large Fixed order and broadcast inside the lock. Late Fixed sends can trigger recalculation per Terms; wrong amounts can settle at the current rate – cite the live Terms, do not invent exceptions.
One-time deposit addresses usually should not be reused. After the test, open a fresh large order even on the same pair. More detail: Fixed vs Floating rate crypto swap.
Do: pick the rate mode that matches your timing (Fixed when you can send inside 12 minutes; Floating when you need flexibility). Don’t: copy the test’s rate mode out of habit if the large send has different timing.
Run the go-live checklist for the large order
Only after the test is fully credited:
- Open a new large order on the same pair and networks – do not reuse the test deposit address.
- Re-copy the receive address from the trusted receive screen; check middle characters; ignore lookalikes in history.
- Confirm memo/tag again if the new order UI shows one.
- If Fixed: be ready to send the exact amount inside the 12-minute lock. If Floating: accept settlement after funds arrive.
- Broadcast the exact large deposit, save TxID, and track the official order page until credit completes.
- Do not send a second large “top-up” unless official support asks for a specific verification amount.
Do: keep ticker + network identical on both sides from test to large. Don’t: change networks “to save fees” at the last second.
Eligible users can run the pilot and the large swap on the RevBit homepage swap widget (same entry as in the steps above). For more how-tos, browse the RevBit blog.
Frequently asked questions
How small can a test swap be?
Large enough to clear the live order or route minimum and still an amount you can afford to lose. Industry guides often cite about $1–$10 or about $20–$50 – check the amount printed on your order screen, not a blog number as RevBit policy.
Do I need a test for BTC?
Yes when the destination or route is new. BTC fees can be higher in congestion, so if a tiny test is uneconomical, tighten address checks even more – or still send the smallest practical amount and wait for full credit before scaling.
Should I test TRC20 and ERC20 separately for USDT?
The test must use the same USDT network as the large order. TRC20 and ERC20 are not interchangeable. On RevBit, USDT receive defaults to TRC20 unless you pick ERC20 for an ERC-20 wallet.
Can I use Fixed on the test and Floating on the large send?
Yes, if the route stays identical. For a Fixed large send, create that Fixed order only after the test credits so the 12-minute lock is not wasted while you wait.
Is a successful test enough to trust the next paste?
No. Re-copy the address from the receive screen, check middle characters, and watch for lookalikes in wallet history. Address poisoning targets the gap between a good test and the large send.
What if the test never arrives?
Stop. Save order ID and TxID, verify the explorer, and contact official support only. Do not send a second “correction” unless support instructs a specific amount and destination.